The first thing I’ll say about travelling with your Emotional Support Animal (ESA) from the USA to the UK is that, unless you absolutely HAVE to, just don’t do it. I know we all love our pets, and our ESAs are vital for our mental health, but honestly, I’ve never felt more stressed or anxious than I did in the weeks prior to travelling from the USA to the UK with my dog, Opus.
Apparently the UK is one of the most strict and particular countries you can take your animal to, with a whole host of specific rules and regulations, so you really do need to be on top of everything. I started this process back in July, over 3 months before travelling, and it still came down to the wire, with the last piece of paperwork I needed not arriving until 2 hours before I was due to leave for the airport. I told you… stressful.
I’m going to try and lay this process out as simply as possible, with a step by step guide to making sure you will be able to travel with your ESA dog from the USA to the UK successfully. This is all from my own experience.
Step 1: Choose your airline and book your flight
As the UK doesn’t recognise Emotional Support Animals as assistance dogs, not all airlines will allow you to fly from the USA to the UK with your dog. The ones I know that do are British Airways and American Airlines. I believe Delta and United also do. I’m not sure about Virgin Atlantic.
I originally booked my flight with British Airways as I could use air-miles, however I then found out that they require your ESA to have some official behavioural training, with a certificate or letter from the trainer as proof. This was frustrating as ESAs are not required to have this training.
After doing some further research I discovered that American Airlines make life much easier to travel with an ESA and fortunately I was able to transfer my booking to AA with my air-miles as they are part of the same alliance.
To travel with an ESA you can’t book your flight online so you will need to give the airline a call and explain you’ll be travelling with your ESA dog.
Step 2: Get your ESA dog approved by the airline
American Airlines require you to send them 3 different forms in order to provide you with your Emotional Support Animal ID number. You can find these on their website. The first is a form that your doctor/therapist needs to fill out, certifying that they have prescribed an ESA for your mental health. The second form needs to be signed by your vet, certifying that your dog is fit and healthy to travel. The last form is one that you will sign to say that you agree to be responsible for your dog and its behaviour.
Once you have these forms filled out and signed by the relevant people, you’ll need to email them to American Airlines who will check them over and, once approved, send you an ‘Emotional Support Animal ID’ number. This number is valid for travel for 1 year.
Once you have this ID number, give the airline a call to request a bulk-head seat. I went for a window seat so that Opus could curl up in the corner and not be in anyone’s way. American Airlines were really helpful the entire way through this process, in fact they were the ones who told me to request the bulk-head seat (and yes, you get it for free!).
Step 3: Check the rules for entering the UK with your dog
The UK has a great Pet Travel Scheme which means that your animal won’t need to go into quarantine and their website does actually lay this out very clearly as a step-by-step guide. You do need to pay close attention to each of the steps and make sure you give yourself enough time to get everything done:
- Get your dog microchipped.
- Get your dog vaccinated against rabies. This must be done AFTER the microchip. If your dog has their rabies shot prior to getting microchipped (as was the case with my dog, Opus), you will need to get them re-vaccinated for rabies. The rabies vaccination must be done at least 21 days prior to travelling and, according to UK rules, your dog’s primary rabies vaccination is only valid for 1 year. Make sure you get your vet to give you a copy of your dog’s rabies certificate.
- Get your dog treated for tapeworm. This must be done no less than 24 hours and no more than 120 hours (5 days) before you enter the UK. The treatment must contain ‘praziquantel’.
- Get a pet travel document (see Step 4 below).
The US Department of Agriculture (USDA) also has a detailed guide for this process so it’s good to fully read through both websites.
Step 4: Have your USDA Accredited Vet fill out the Health Certificate
The USA is classed as a ‘listed’ country so, unless you already have an EU Pet Passport, you will need to have your vet fill out this health certificate. The health certificate must be issued by your USDA Accredited Veterinarian and endorsed by the Animal and Plant Health Inspection Service (APHIS) within the 10 days prior to you and your ESA dog entering the UK.
Detailed instructions for your vet to fill out the certificate can be found here. This was where things got stressful for me as my vet wasn’t very familiar with this process or the details of the form so we went back and forth a few times.
It is very easy to get things wrong on this form, so make sure you and the vet both look over it in detail. Some common mistakes are usually to do with dates being written in the American format (mm/dd/yyy) instead of the English way (dd/mm/yyy), or the microchip number not matching on each section. One problem we encountered was the validity dates for the rabies section – for a primary rabies vaccination, the ‘valid from’ dates needs to be 21 days AFTER the vaccination was given (e.g. date of vaccination: 25/08/2020, validity of vaccination From: 15/09/2020 To: 25/08/2021). A primary rabies vaccination is also only valid for 1 year.
There are a couple of ways the veterinary certificate can be done – your vet can either fill out the form by hand, complete it on a fillable PDF and print it out, or use the USDA’s online system, the Veterinary Export Health Certification System (VEHCS). How you determine which one to have your vet do will really depend on how you want to deal with the endorsement process and how much time you have before you travel (see Step 6).
Step 5: Contact the Heathrow Animal Reception Center (HARC)
Once your vet has filled out your ESA dog’s health certificate, you need to get in touch with HARC to tell them you’ll be travelling from the USA to the UK with an ESA dog. They’ll ask to see your paperwork and then they’ll issue you with a pre-approval letter for your pet. You can (and should) do this prior to the certificate being endorsed and/or treating your dog for tapeworm. You must do this a minimum of 72 hours prior to your flight or you risk a £450 fee.
You simply email them a copy of your dog’s veterinary certificate, along with the details of your flight, pay a fee* and, pending any issues, you’ll get your pre-approval letter within a day or two.
*The UK doesn’t acknowledge ESAs as assistance animals so they require you to pay what is, in my opinion, a very arbitrary fee of £399 for what they deem an ‘unrecognised assistance animal’.
Step 6: Get the certificate endorsed by the USDA
Once your vet has completed the EU veterinary certificate, it needs to be sent off to the USDA to be endorsed. You’ll need to go to this website to find out where your state’s offices are.
Depending on your preferences, and the way your state’s USDA office does things, you have a couple of options for getting your health certificate to the USDA for endorsement:
- Take the physical certificate to the endorsement offices for an in-person appointment and have it endorsed that day.
- Mail the certificate to the endorsement office and have it mailed back (you’ll need to include a pre-paid return shipping label).
- Have your vet use the online VEHCS system to submit the certificate electronically. However, the UK doesn’t accept digital endorsement of the certificate and still requires that it bears an original ink signature and embossed seal – your vet will need to upload a pre-paid shipping label so a physical copy of the endorsed certificate can be returned to you.
In a normal situation I think I would have taken the form to an in-person appointment so it would all be done and dusted in one day. However, due to the COVID-19 pandemic, my local office weren’t allowing this. Instead I opted to have the vet submit the health certificate electrically via VEHCS and have it returned to me in the mail.
All of this would have been fine, had my vet not messed up the form twice, therefore delaying the endorsement process. I was travelling on a Wednesday so took Opus to the vet on the Tuesday prior, the vet submitted the online form the following day, but we didn’t hear that there were errors until Friday. The vet resubmitted on Friday afternoon, by which time the endorsement office was closed for the weekend. Yes, you can imagine my stress levels at this point. There was then one further error on the form and so the vet had to edit and resubmit again on Monday – they got it done just in time for the USDA to endorse and send out the certificate that day, using the pre-paid UPS shipping label I had supplied. I thought at this point I was all set and I would have the certificate in hand by the end of Tuesday. Of course though, and as I really should have expected, UPS then lost the package and thus ensued many a phone call, online chats, tears and a sleepless night before the certificate was finally delivered at 12pm on Wednesday, 2 hours before I needed to leave for the airport!
Once you get your endorsed certificate back, you’ll need to sign & date the ‘Declaration’ page at the back of the form and write in your pet’s microchip number and health certificate number (found at the top of each page of the certificate).
Step 7: Go back to the vet for the Tapeworm treatment
Your ESA dog needs to be treated for tapeworm in order to enter the UK. If you miss this step you risk your dog being put into quarantine upon arrival! The tapeworm treatment must be given no less than 24 hours and no more than 120 hours (5 days) prior to your dog’s arrival in the UK – I was landing with Opus on a Thursday morning so to be safe, we didn’t do the tapeworm treatment until 3 days before.
You’ll need to take your dog’s endorsed health certificate with you to the vet so they can fill in and sign the tapeworm section (as my vet had to resubmit the form anyway, they filled out the tapeworm treatment before endorsement). You also need to make sure that the tapeworm product they give your dog contains ‘praziquantel‘.
Step 8: Gather all your paperwork
You should put all your ESA dog’s paperwork in one place that is easy to access. I kept all of mine in a plastic folder in my hand luggage. You need to have ready:
- Your HARC Pre-approval letter
- Completed and endorsed Veterinary Certificate
- Rabies Certificate
- Airline ESA forms (the ones your vet, your doctor/therapist, and you filled out in Step 2)
Step 9: Prep your dog and go to the airport!
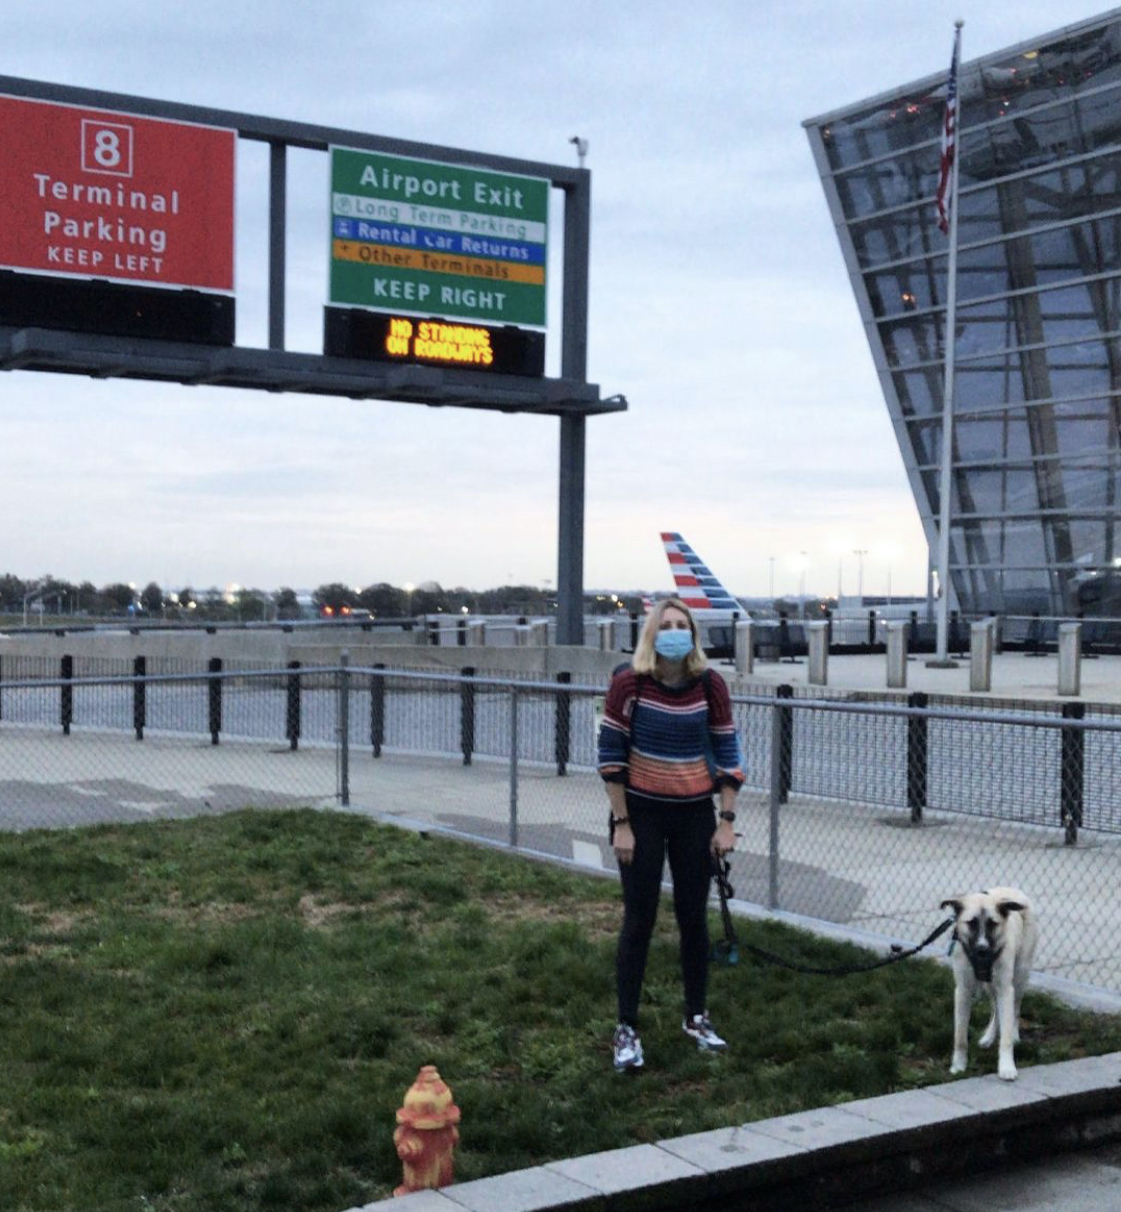
I was flying out of JFK, Terminal 8, where American Airlines flights depart from, so I can only speak to the experience in this specific place, but I can see why AA have a reputation of being very animal friendly. From the moment I arrived at the airport, everyone was helpful and patient. This was my first time travelling with an animal and to say I was stressed is an understatement. There is even a grassy pet relief area right outside the terminal so your ESA dog can go potty before you go through security. At check in, they looked through my paperwork, cooed over Opus and sent me on my way… all very easy!
Taking Opus through security was something I was particularly anxious about, as I really had no idea what he or I would have to do. But I needn’t have worried. Apart from Opus not wanting to walk and me having to carry all 43lbs of him, it was all very simple. I put my hand luggage on the conveyor belt, picked Opus up and carried him (harness, leash and all) through the metal detector archway. I grabbed my bag the other side and that was that.
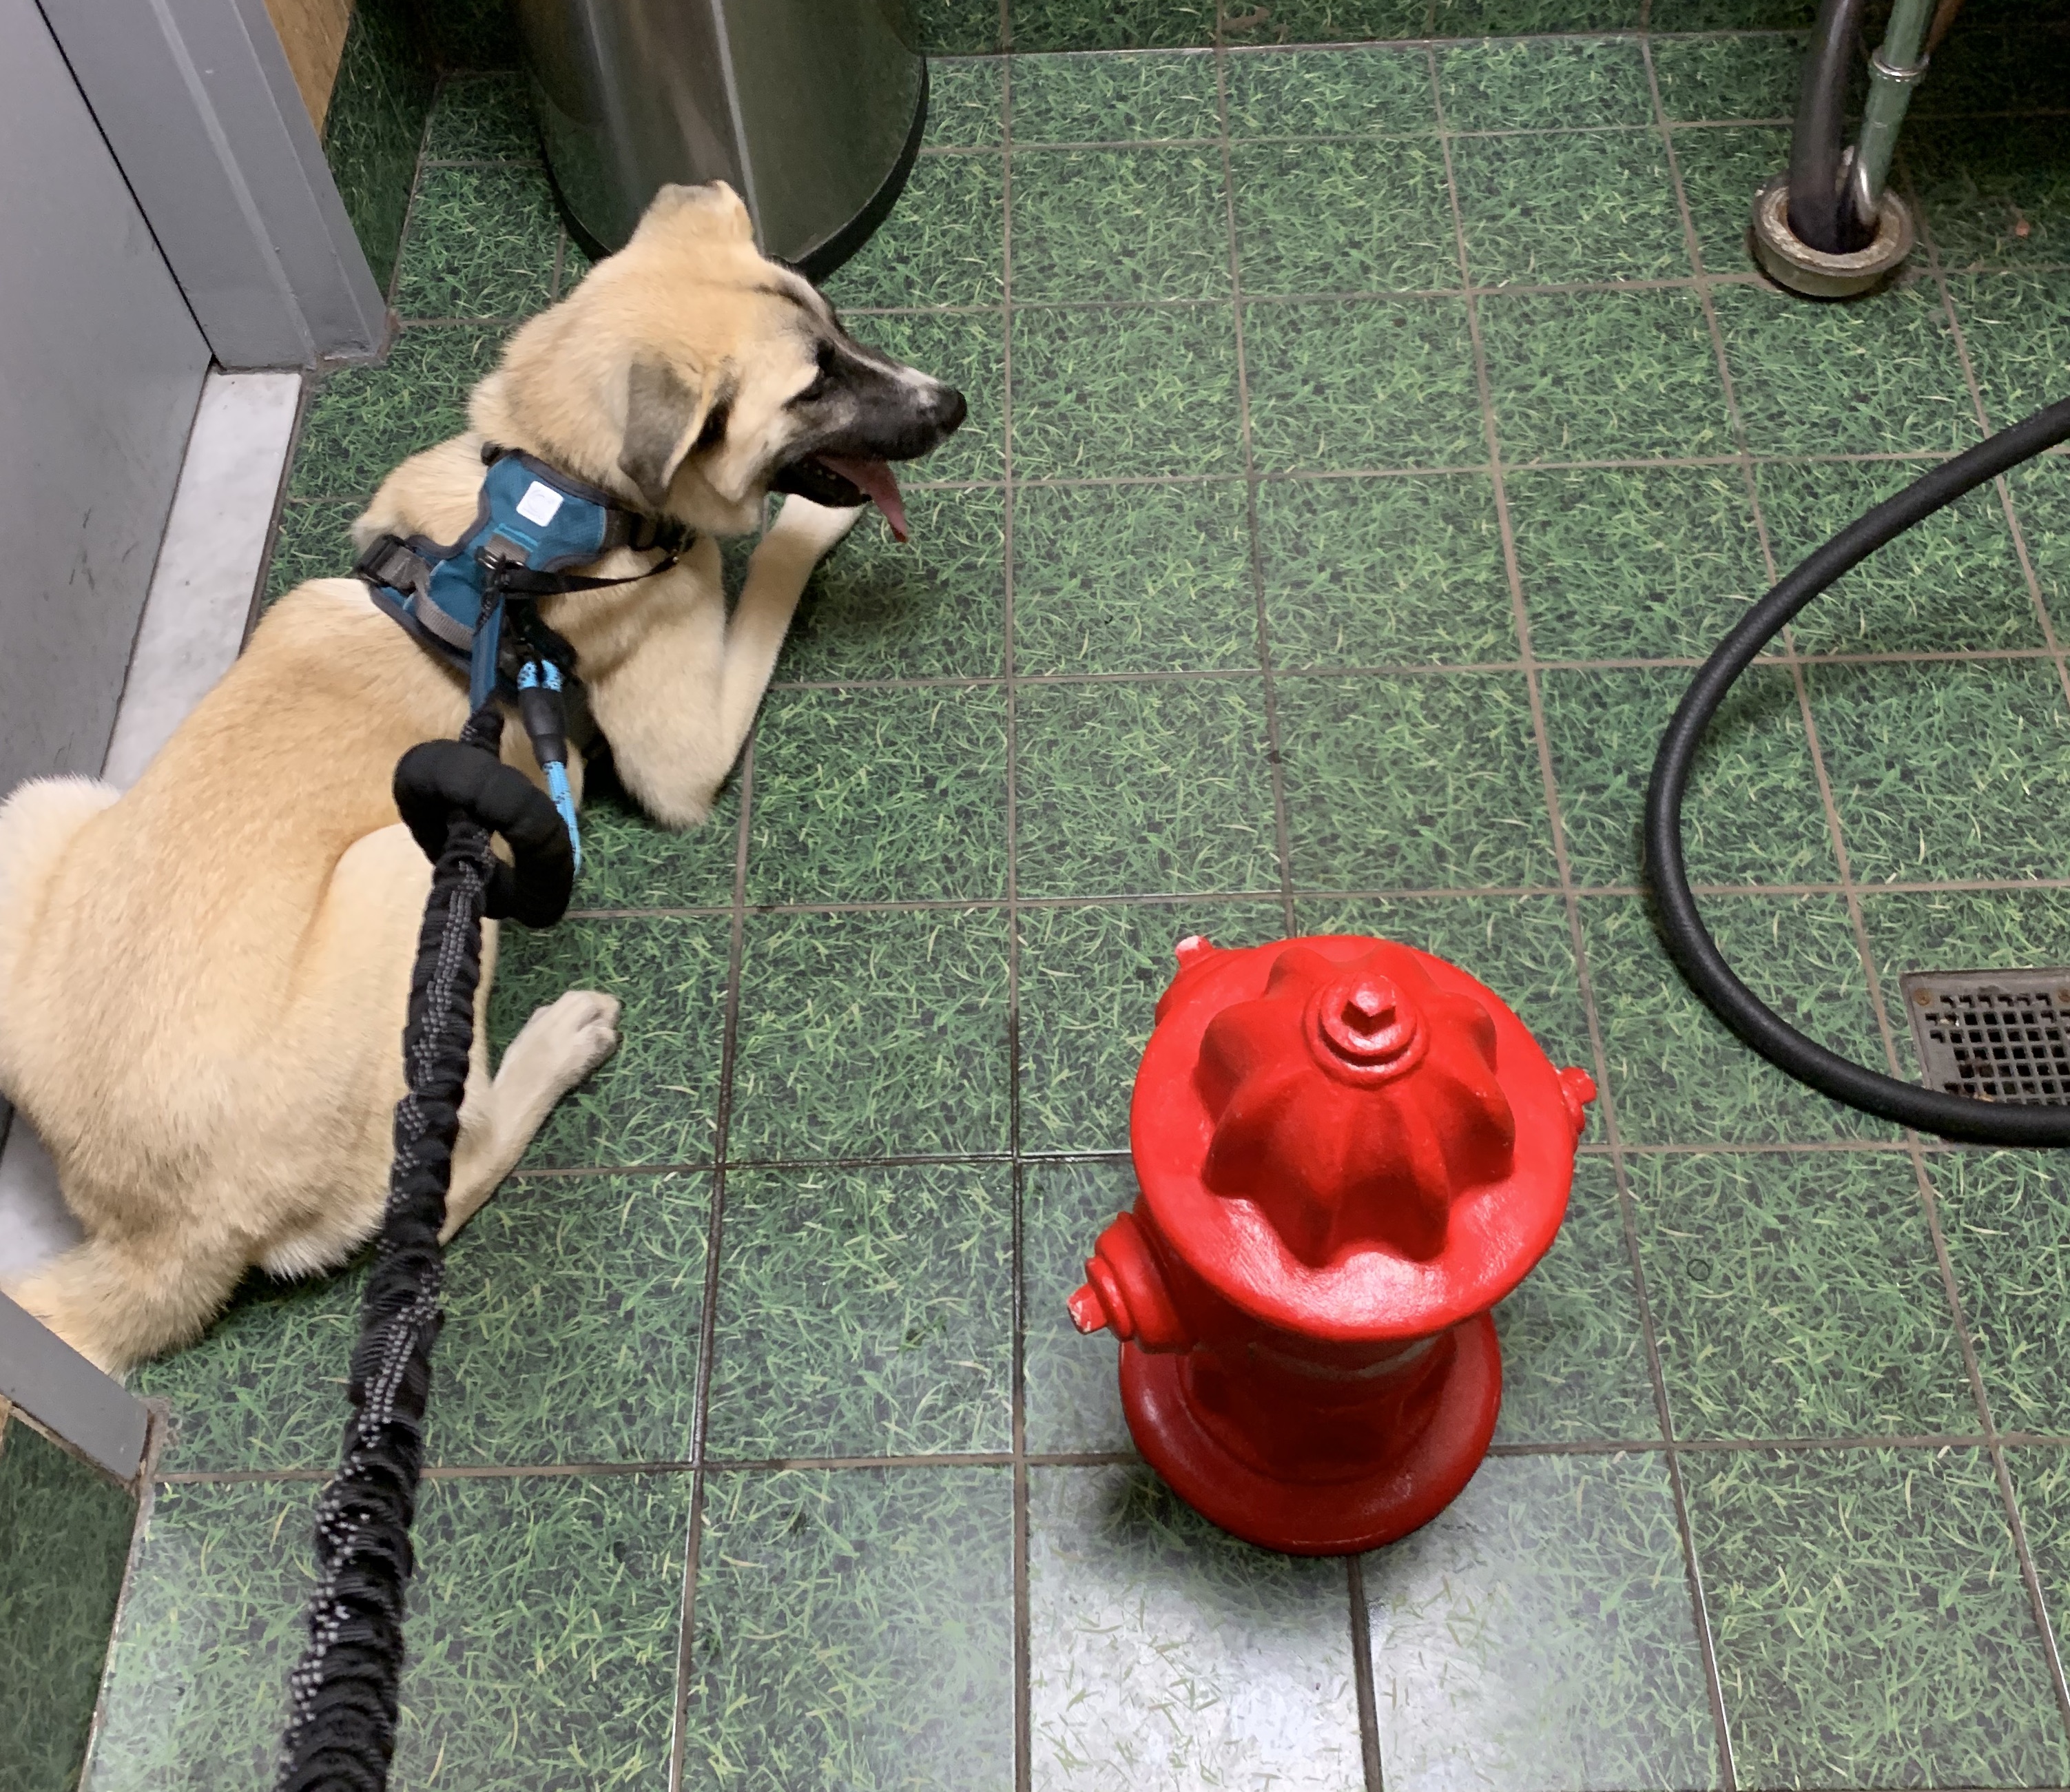
After that it was just a matter of making sure Opus was comfortable and happy. We went to the gate and took a trip to the terminal’s indoor ‘pet relief area’ (a little tiled room with a fake fire hydrant and hose to wash the floor after the dog does its’ business) where Opus refused to pee and just looked at me like, ‘errr, but you taught me NOT to pee on the floor?‘, before boarding the plane and settling down for the flight.
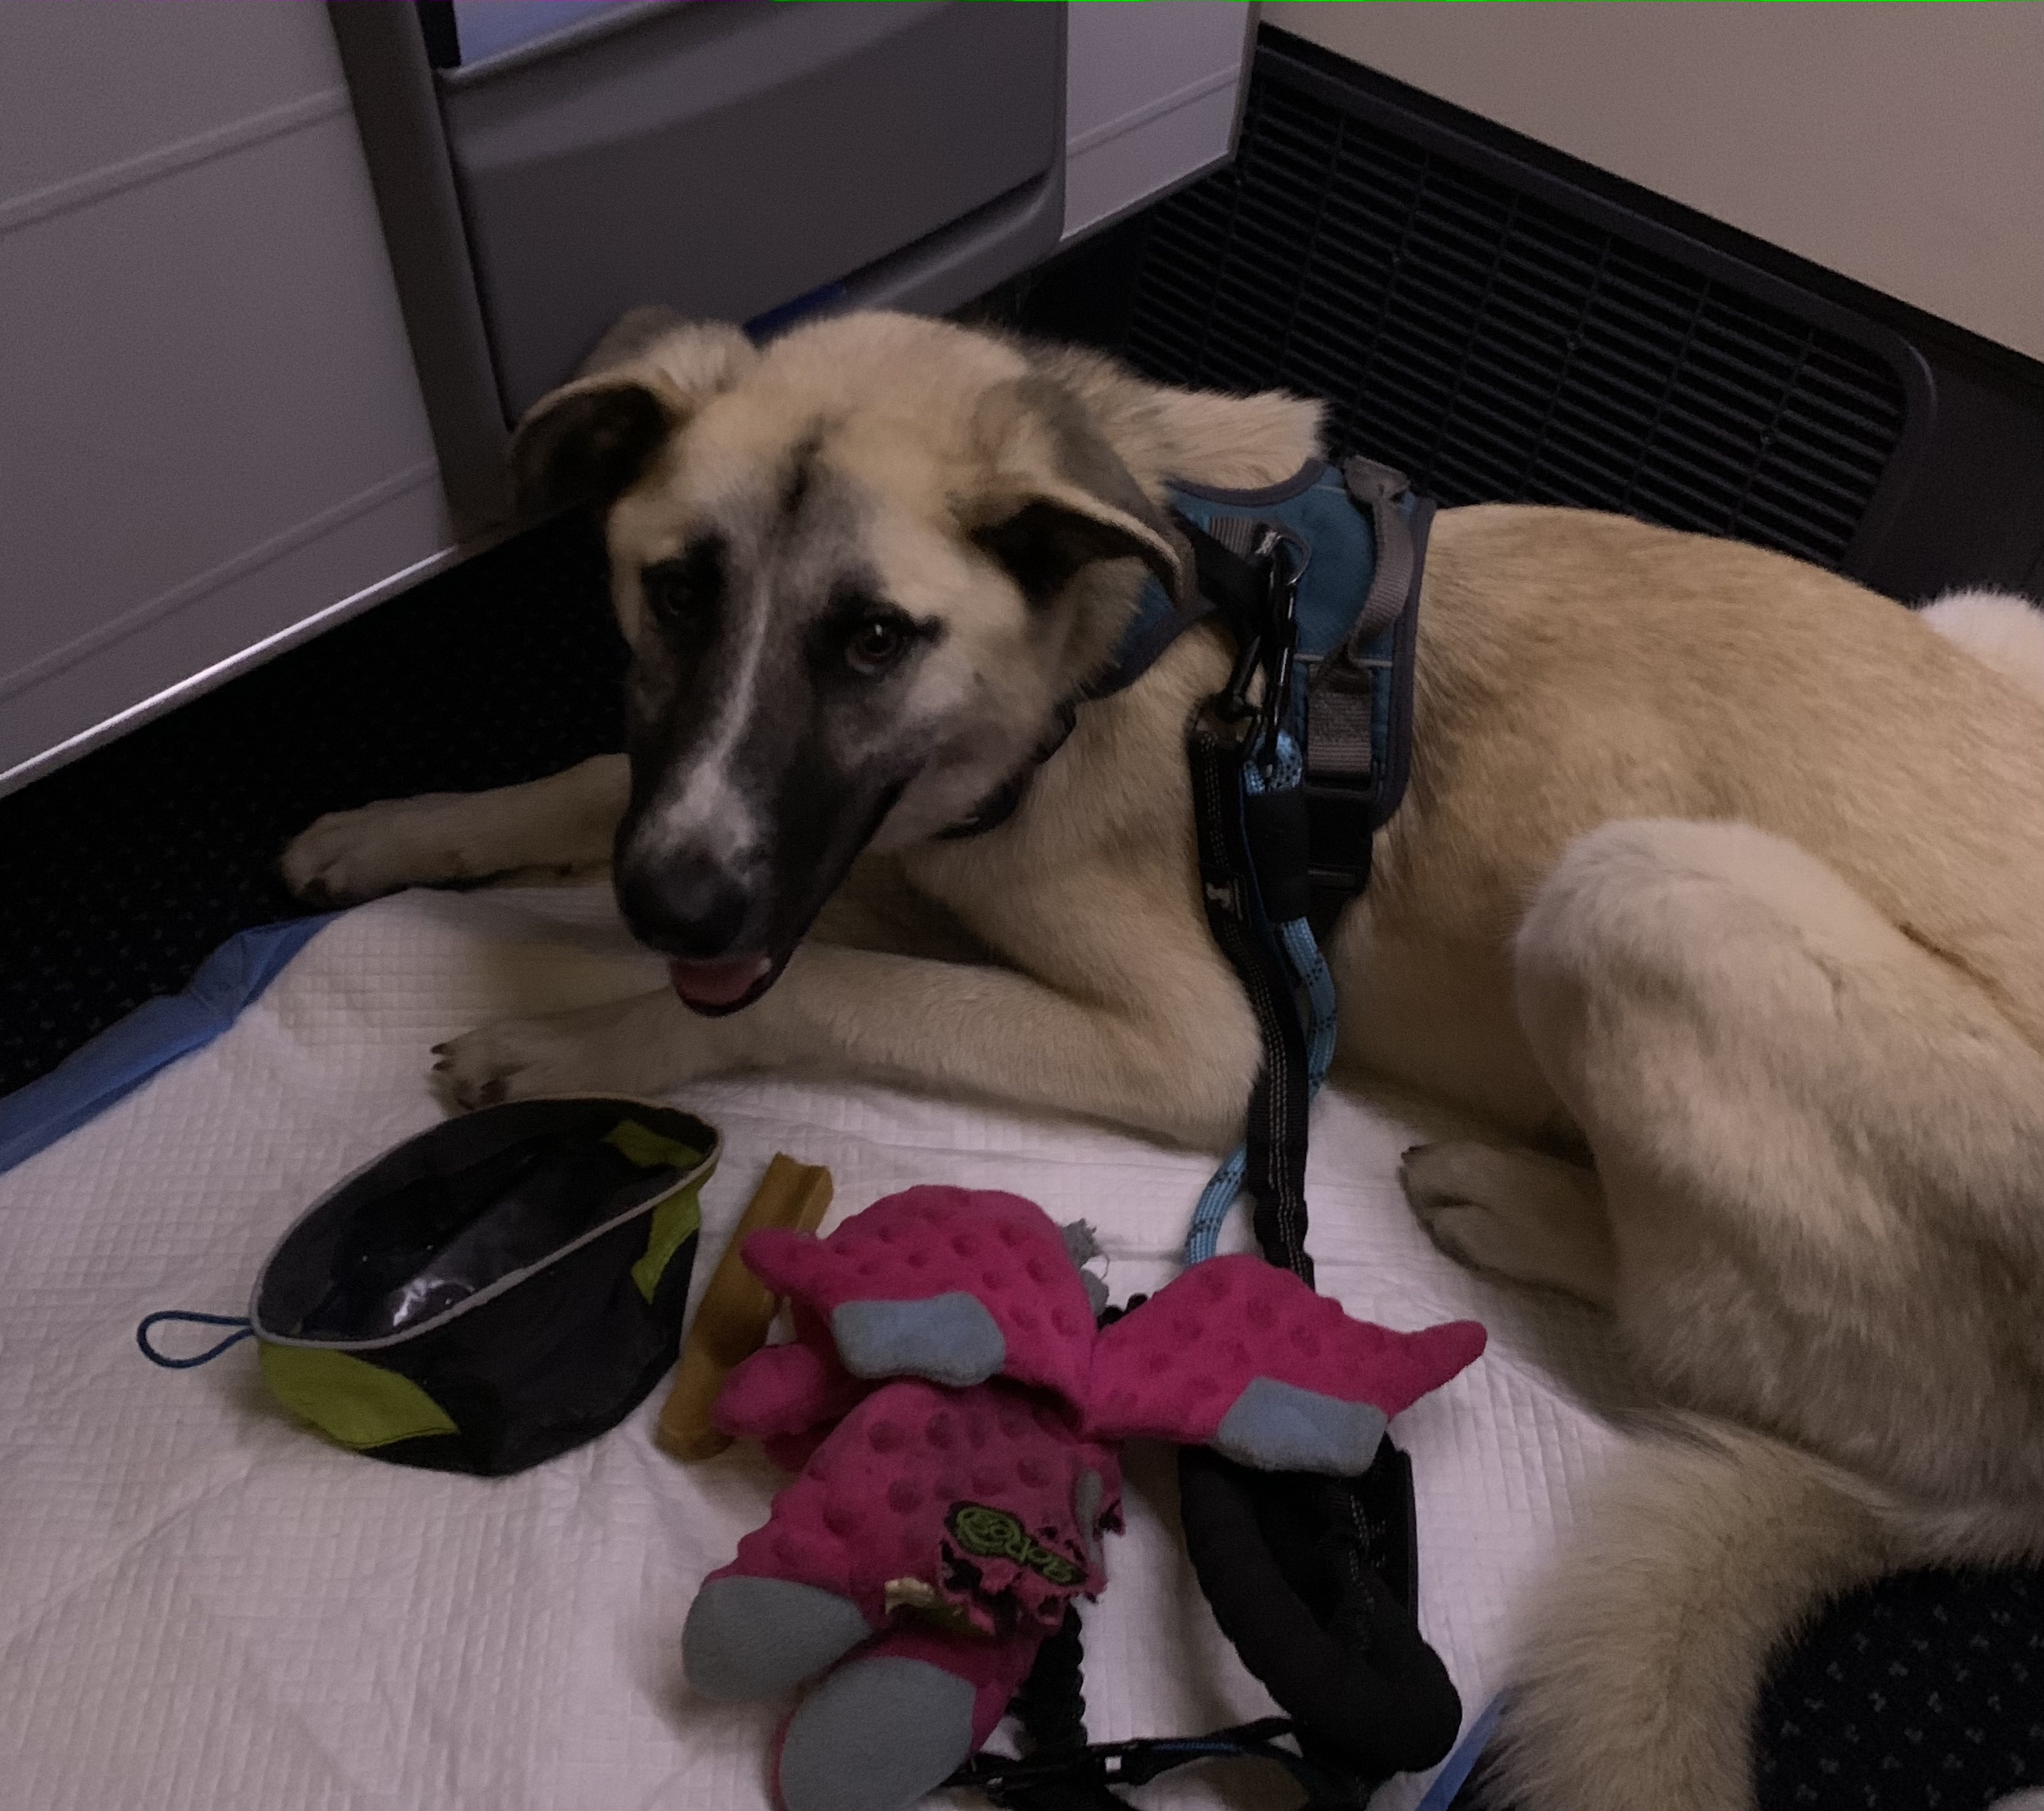
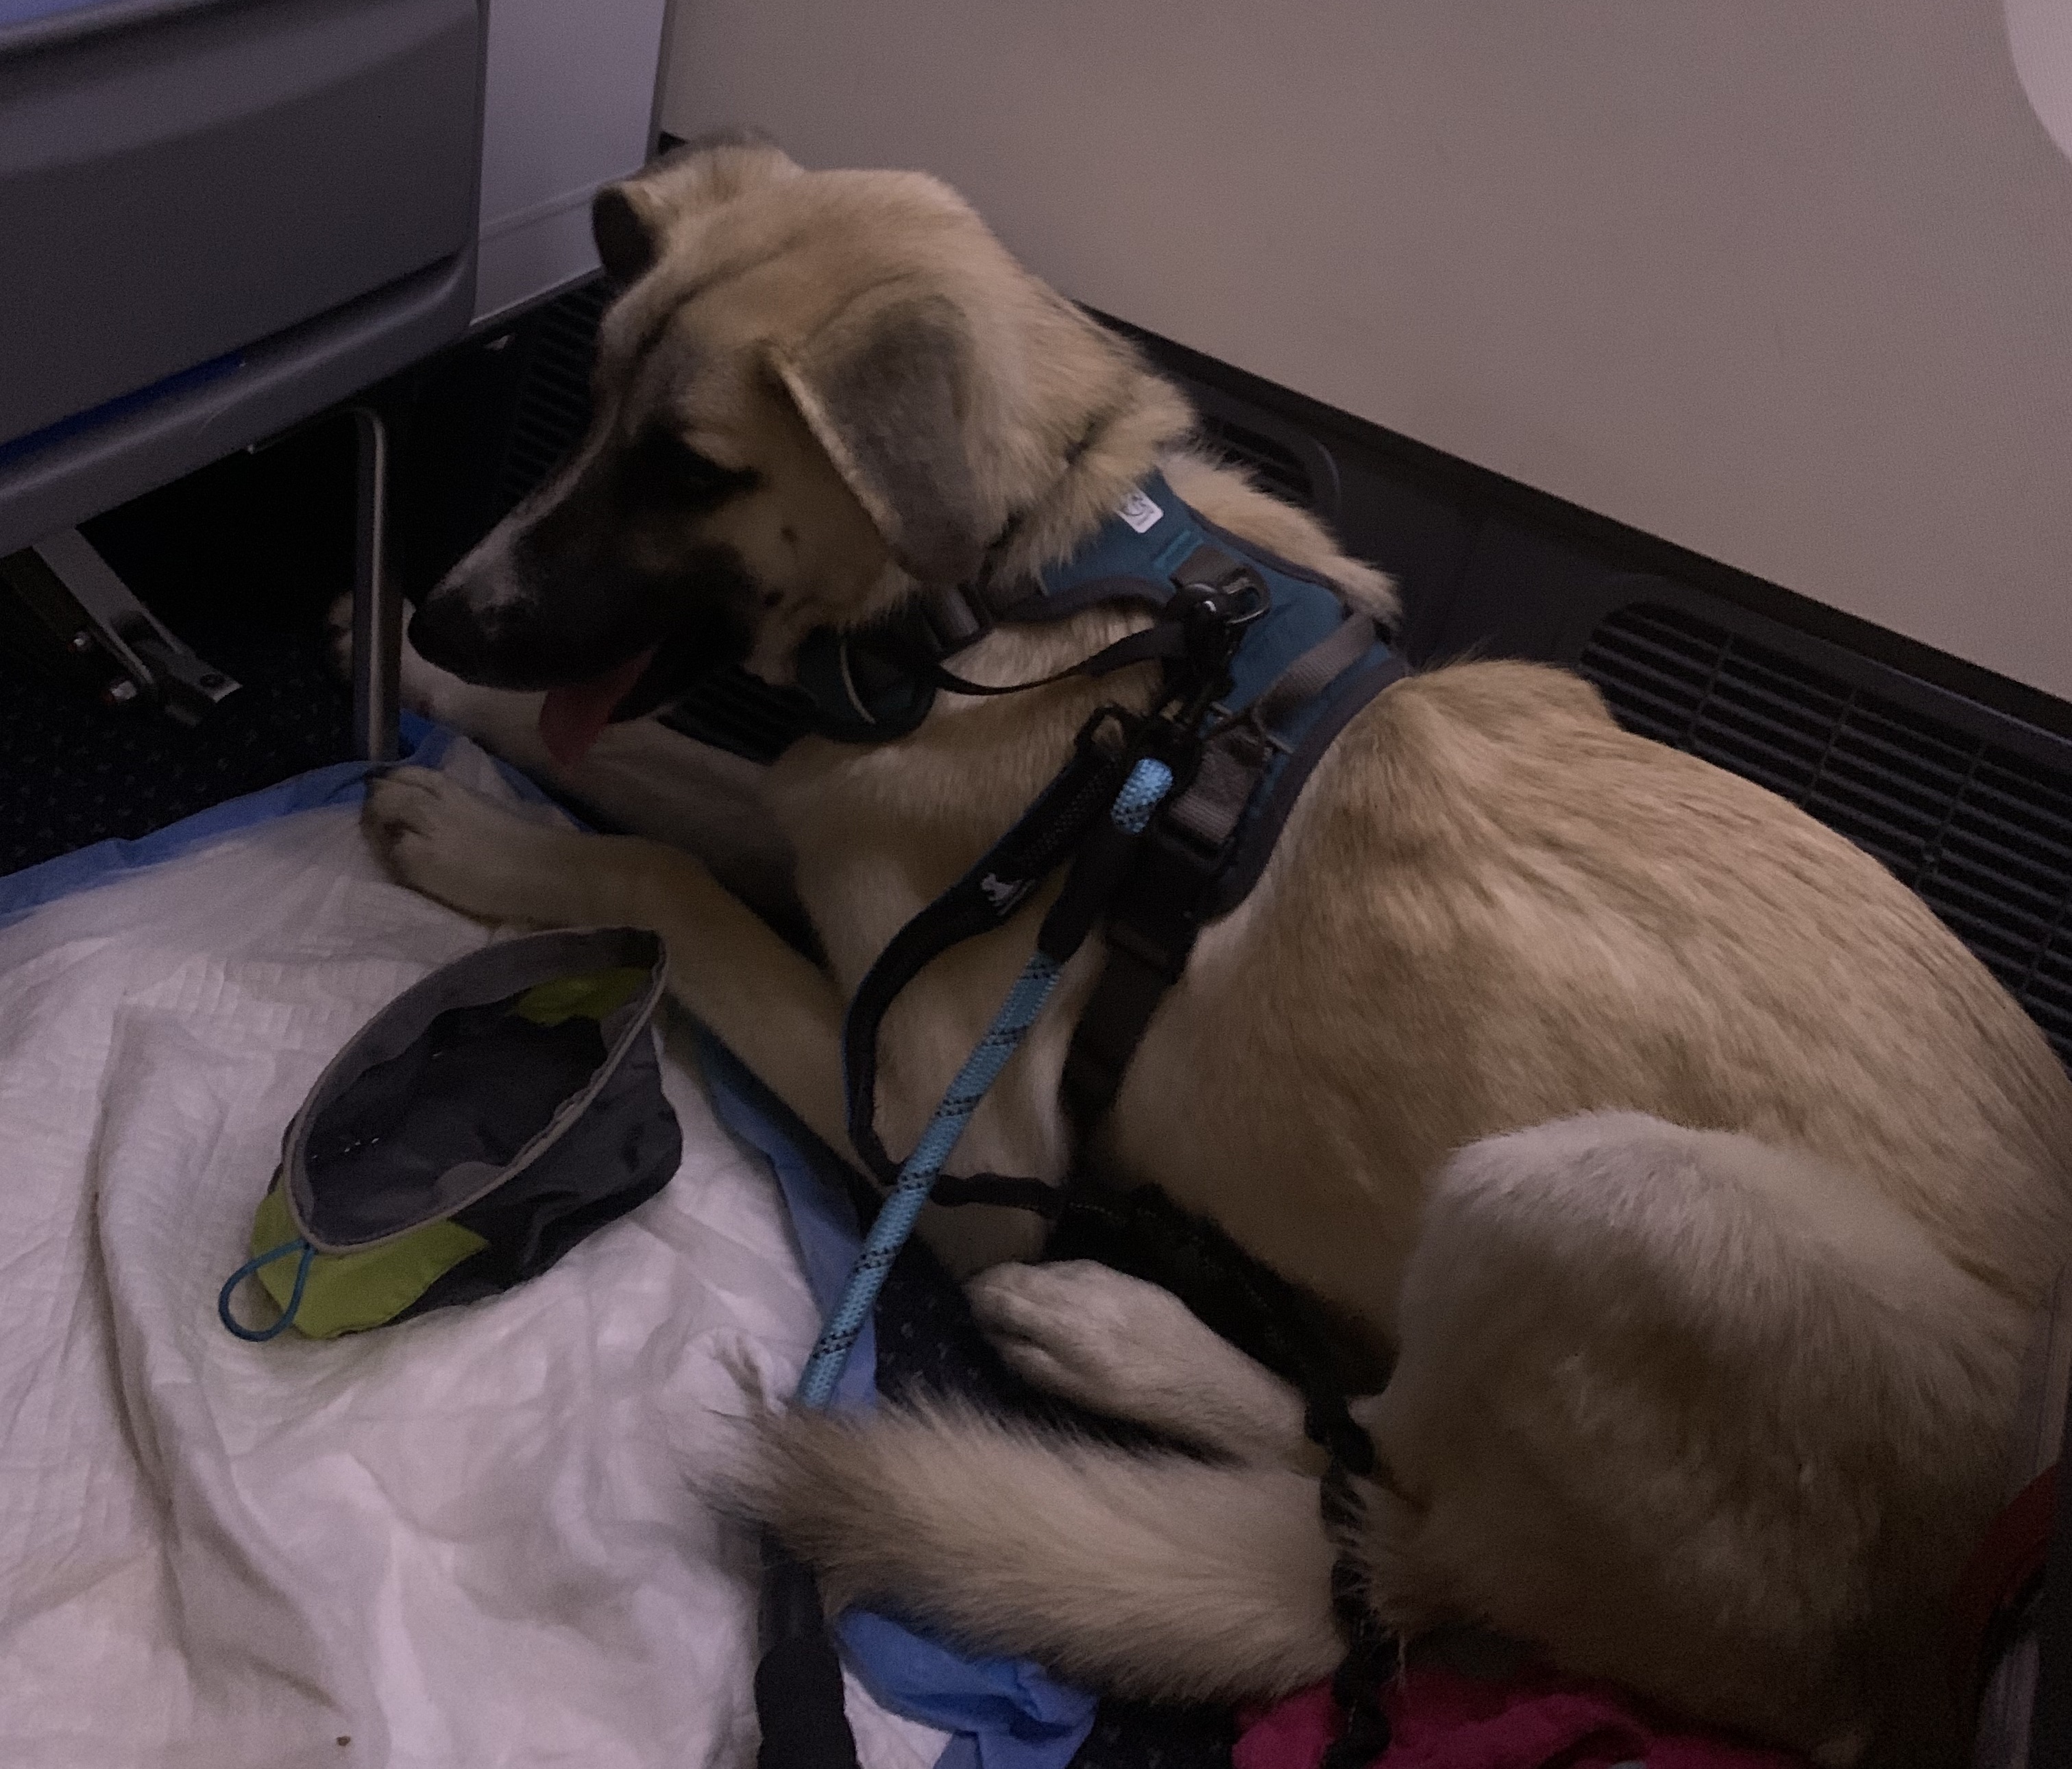
Speaking of Opus doing his business, I gave him a small meal about 5 hours prior to the flight and started limiting his water about 2 hours before. I then gave him just small amounts of water throughout the flight so that he wouldn’t need to pee until we landed in the UK. As a ‘just in case’ measure, I put a pee pad on the floor where Opus was lying, but he didn’t need it.
Having the bulk-head seat on the plane was an absolute dream (it also helped that the flight was completely empty) and Opus was able to stretch out on the floor. I was a little worried about how he would respond to the flight itself, but aside from a little nervousness during take off and landing, he was a total champion. Opus gets travel-sick/anxious so I gave him a Benadryl tablet prior to the flight to help with this and also offered him treats to chew on throughout the journey to ease any pressure in his ears too.

Step 10: Arrive in the UK
When you land there will be someone from the HARC waiting for you as you get off the plane. They’ll want to see your ESA dog’s paperwork, so make sure to have it handy. Once they’ve looked it all over, they’ll stamp it, give you a receipt for the £399 you paid previously and you’ll be on your way!
So to summarise, when taking your ESA dog from the USA to the UK you need to:
- Book a flight with an airline that accepts ESA dogs.
- Sort your ESA paperwork from your doctor/mental health professional.
- Follow the UK Pet Travel Scheme rules for your pet re: microchipping and rabies vaccination.
- Have your vet fill out the appropriate veterinary certificate.
- Get a pre-approval letter from the HARC.
- Get the health certificate endorsed by your local APHIS USDA office.
- Give your dog the tapeworm treatment.
- Gather all your paperwork together, go to the airport & enjoy your flight!
Like I said at the start, travelling with your ESA dog from the USA to the UK is no easy task, with a LOT of seemingly endless hoops to jump through, but if you follow the steps (and if your vet doesn’t mess things up like mine did), you should be able to to get it all done no problem.
That being said, I don’t intend on doing this journey again for some time!
**It is worth noting that I did all this during the COVID-19 pandemic, which definitely added an extra layer of stress.

Few things to note:
As of January 1, 2021 the rules of traveling to the UK with animals are changing, and I believe the rules will demand starting at least 4 months in advance of your trip. Just a heads up.
I would also emphasize that you can usually only fly directly from the US to the UK, since many countries in the EU have embargo’s on flying any animal into the UK, ESA or not. So make sure you don’t have layovers in other countries. (If you do have layovers you also could run the risk of that connecting airline not honoring your animal’s ESA status). I’d also add that before booking your flight you should look into which airports have animal reception centers. Heathrow is the one listed above and is also the one I used, but there are a few others in the UK as well.
Thanks Katie! Yes as of jan 1st rules from EU will change but not much will change between the USA and the UK. ESA rules have also recently changed and airlines are now no longer REQUIRED to accept ESAs – I know that currently American Airlines are still doing so but not sure about other airlines. And yea, I would always recommend taking a direct flight where possible.